Follow Me On Social Media!

Mud Hen Bars: Irresistibly Gooey Treat for Sweet Lovers

Introduction to Mud Hen Bars
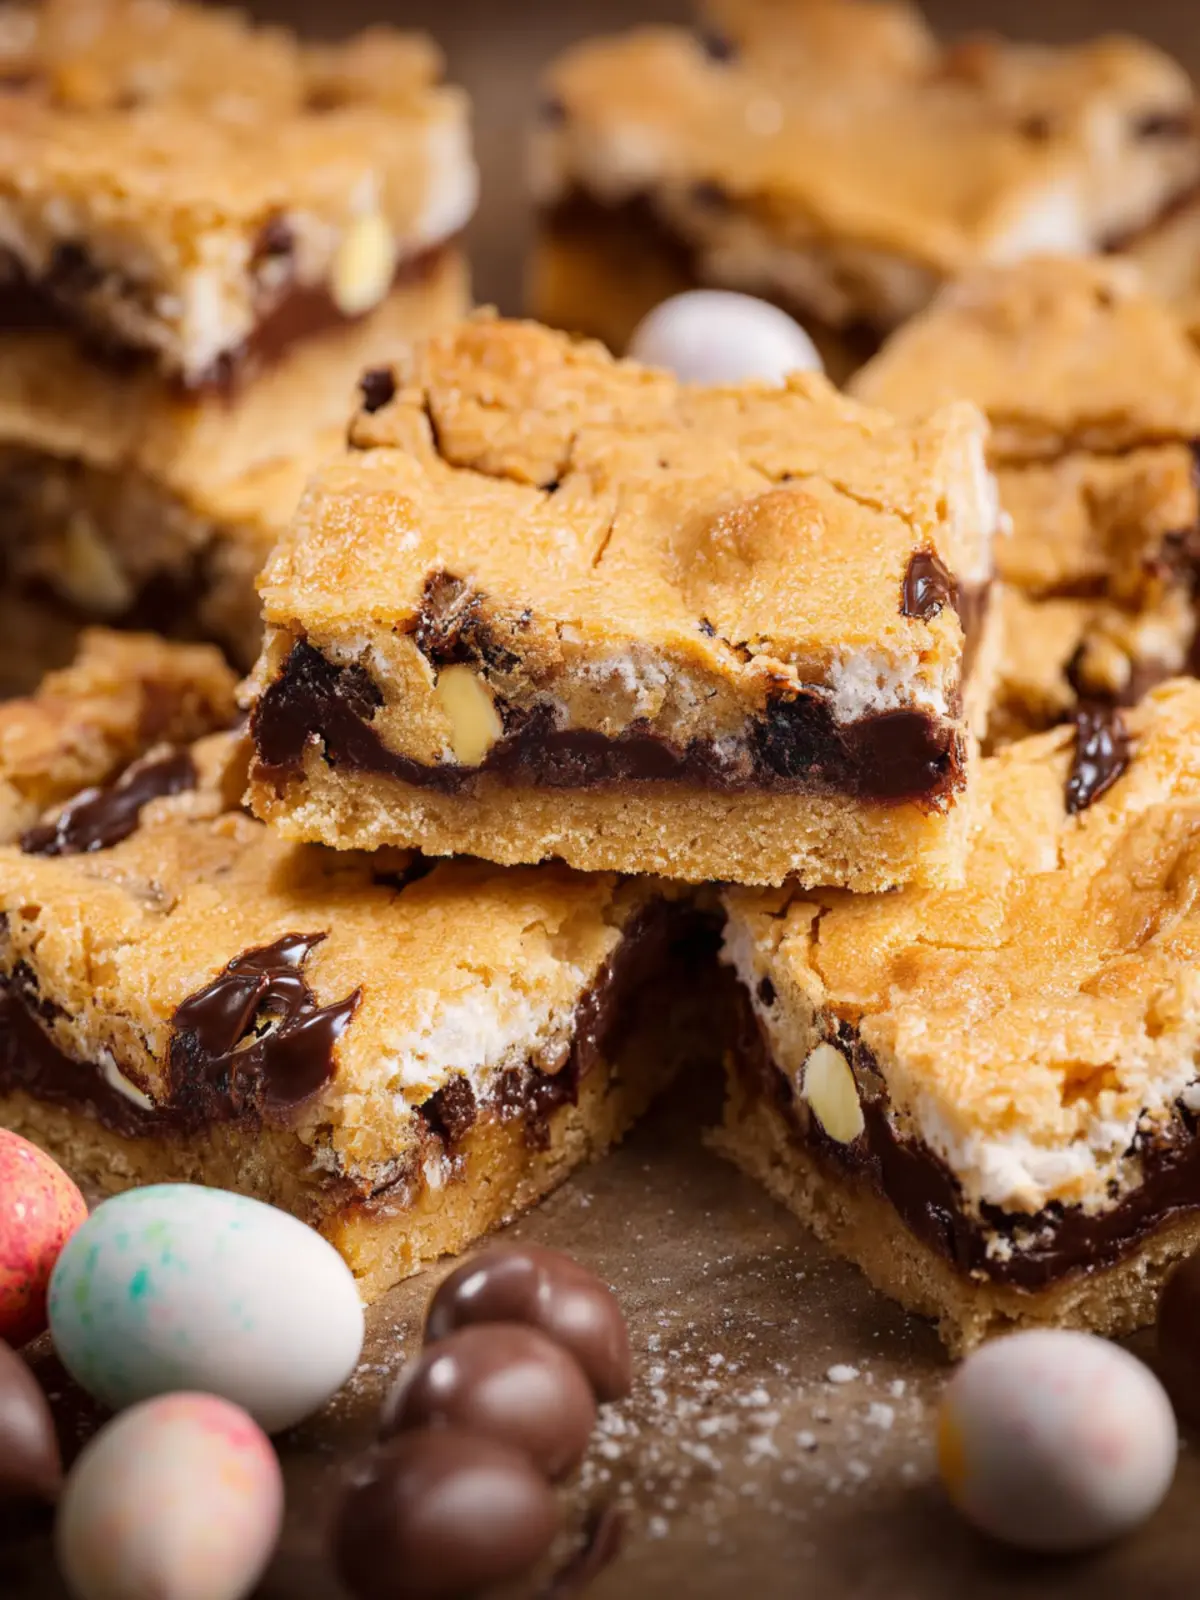
There’s something magical about the simplicity and indulgence of Mud Hen Bars. These delightful treats bring together a chewy meringue layer with a rich chocolate base, creating a dessert that feels both cozy and fancy. Imagine bringing a batch of these bars to your next gathering or simply enjoying them on a quiet evening at home. A bite of these bars, with their satisfying combination of textures and flavors, is sure to evoke feelings of nostalgia and joy.
Originally thought to have come from the Midwest, Mud Hen Bars are a beloved recipe that many families have made their own over the years. The origin of the name is somewhat whimsical, with theories ranging from the bars being inspired by muddy water to the idea that they’re a treat best enjoyed after a day spent fishing by the mud flats. Regardless of their beginnings, they leave a lasting impression and a craving for more.
So, what makes Mud Hen Bars irresistible? The secret lies in their layered approach. Firstly, the rich chocolate base is dense and fudgy, providing a perfect foundation that contrasts beautifully with the light, airy meringue on top. This meringue layer is not just about texture; it’s sweet and complements the chocolate flawlessly. Furthermore, stirring in chocolate chips or nuts into the meringue can create an exciting twist, adding bursts of flavor with every bite.
Not only are Mud Hen Bars a hit at parties, but they’re also incredibly easy to prepare, making them a go-to recipe for newcomers and experienced bakers alike. Just imagine the smiles on your friends’ faces as they dive into these decadent squares, each bite revealing delicious layers of flavor and texture. These bars are more than just a dessert; they represent a moment of shared happiness, a sweet reminder of life’s simple pleasures. So, ready your baking pan and let’s indulge in the delightful world of Mud Hen Bars!
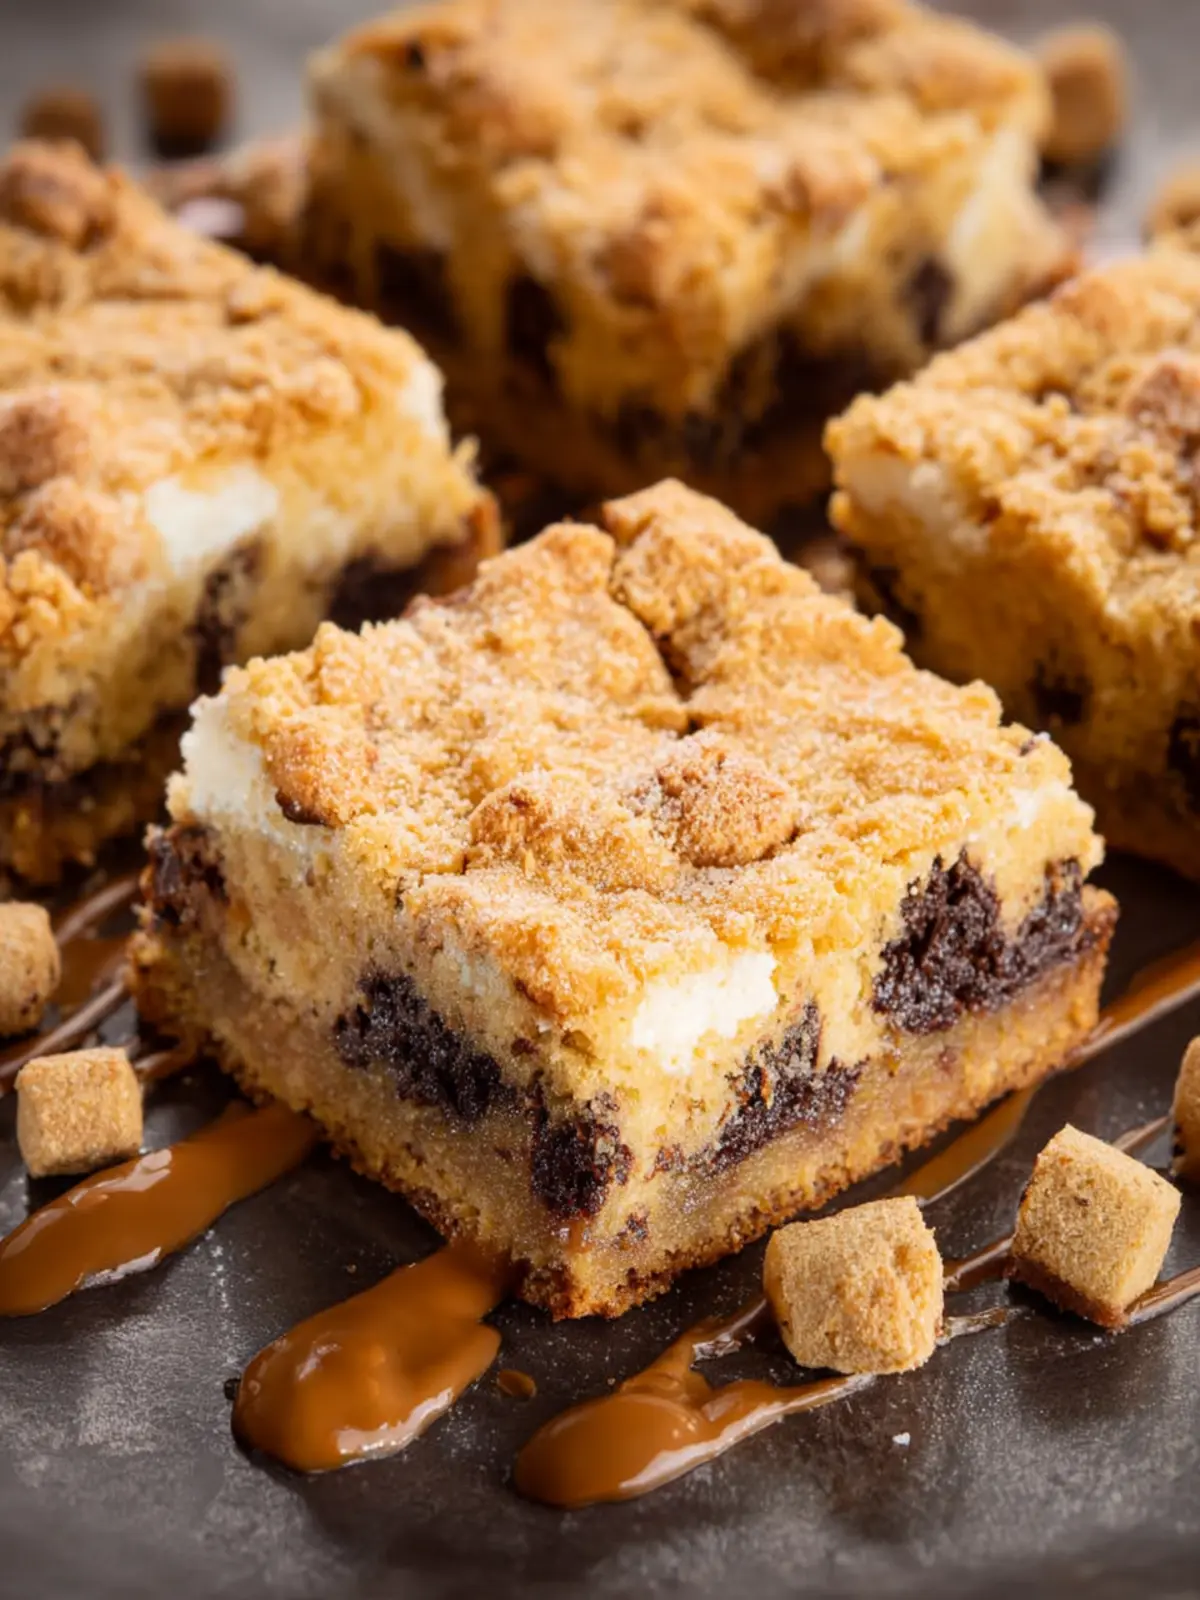
Key Ingredients for Mud Hen Bars
Creating the perfect Mud Hen Bars requires thoughtful attention to key ingredients that come together to create a delightful treat. Each component plays a vital role in achieving that luscious combination of textures and flavors.
-
Sugar: Two types of sugar are essential for this recipe: granulated sugar for sweetness and brown sugar to add a rich, molasses-like depth that enhances the bars’ overall flavor.
-
Butter: You’ll use melted butter in the crust and for adding richness to the filling. Its creamy texture ensures the bars are moist and delicious.
-
Flour: All-purpose flour is the backbone of your crust. It provides the necessary structure to hold the bars together while keeping them tender.
-
Eggs: Eggs are crucial—they bind the ingredients and help achieve that ideal chewy texture.
-
Cocoa Powder: Unsweetened cocoa powder infuses your Mud Hen Bars with a decadent chocolate flavor that balances perfectly with the sweetness.
-
Vanilla Extract: A splash of vanilla rounds out the flavors, bringing everything together in harmony.
With these foundational ingredients, your Mud Hen Bars will be a delightful addition to any dessert spread!
Why You’ll Love These Mud Hen Bars
Imagine indulging in a sweet treat that combines the richness of chocolate with a delightful, chewy meringue topping. That’s just one of the reasons Mud Hen Bars have a special place in my heart. Every bite transports me back to cozy family gatherings, where the aroma of baked goods wafts through the air and laughter fills the room.
Here’s why you’ll be just as enchanted as I am:
-
Decadent Layers: The bars feature a fudgy base made from unsweetened chocolate that strikes the perfect balance between richness and sweetness. This base is a chocolate lover’s dream come true!
-
Meringue Magic: Topped with a fluffy meringue that adds an airy contrast to the dense chocolate layer beneath. It’s the perfect surprise that elevates the whole experience.
-
Simple Ingredients: With familiar ingredients like butter, sugar, and eggs, these Mud Hen Bars are as approachable as they are delicious.
-
Versatile Enjoyment: Whether you serve them at a potluck or as a sweet afternoon snack, they’re sure to impress your friends and family.
Once you taste these bars, you’ll understand why they’ve become a cherished recipe in many homes. Get ready to make your share of lasting memories with these tasty delights!
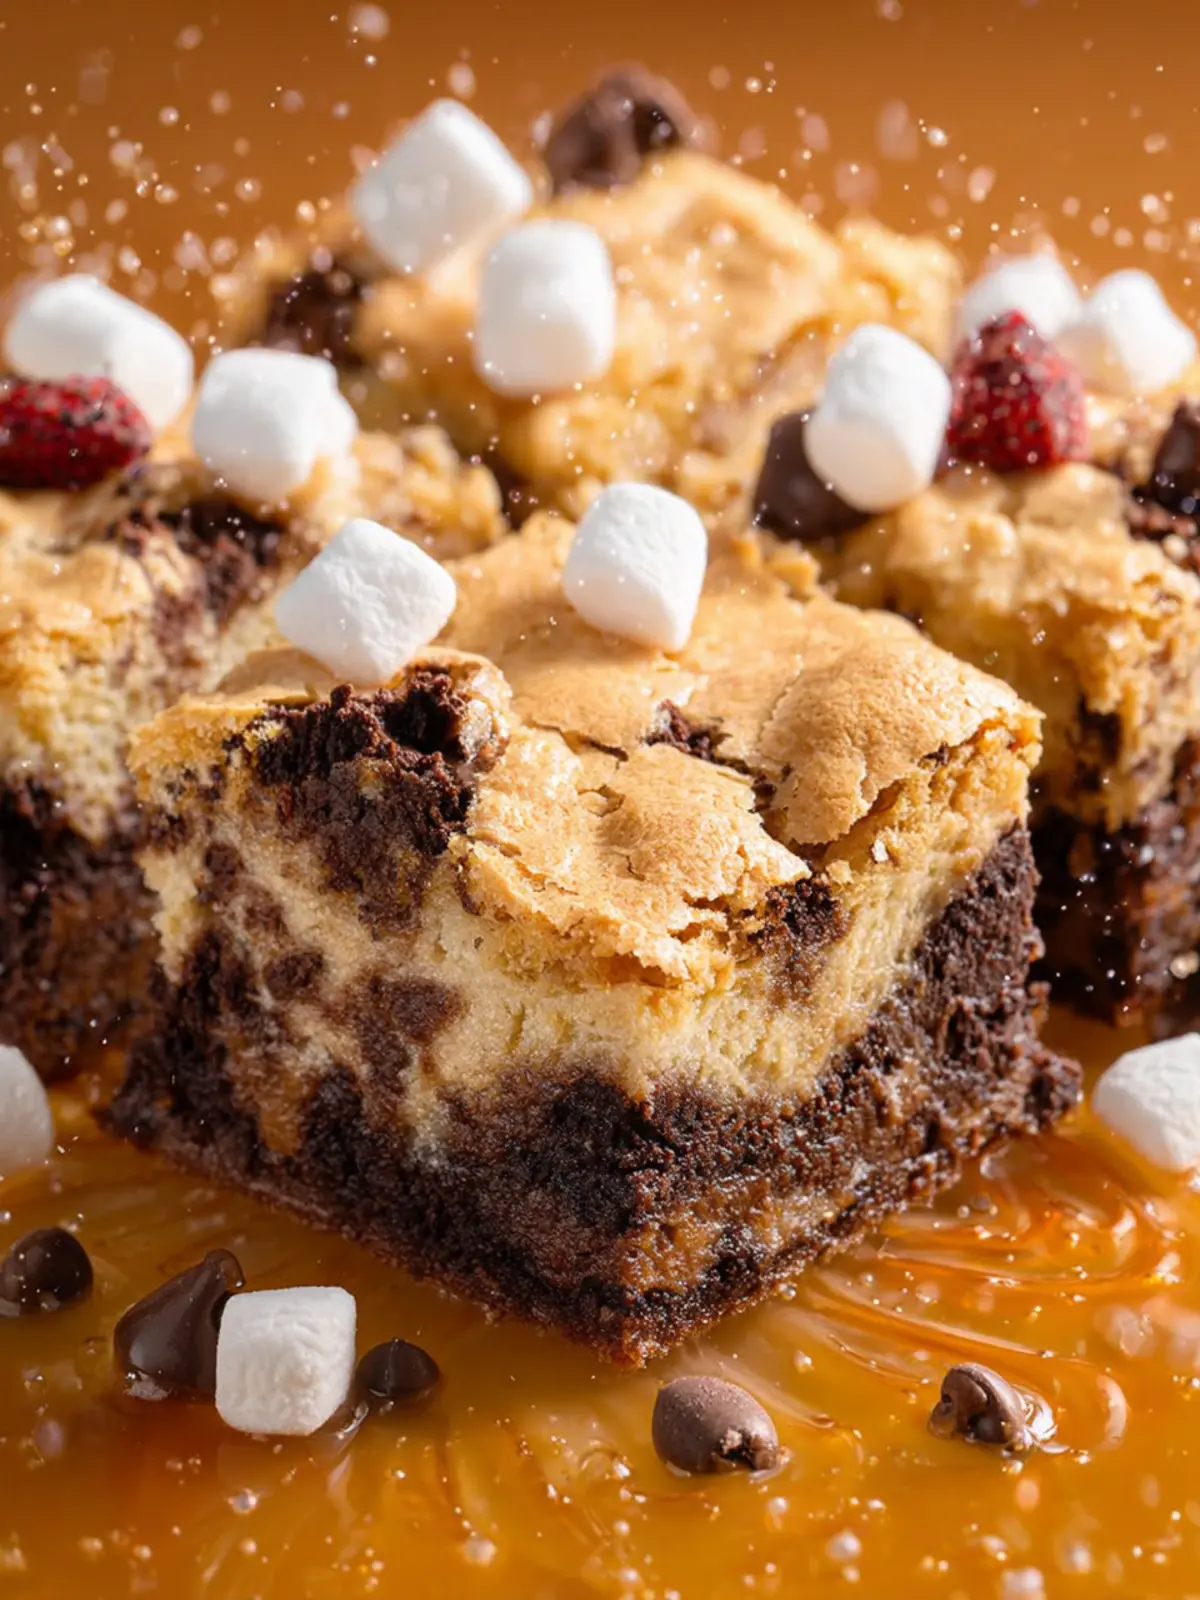
Tips for Making Perfect Mud Hen Bars
Creating Mud Hen Bars can be a delightful journey that fills your kitchen with warmth and sweet aromas. To help you achieve that perfectly chewy and gooey texture combined with a crunchy topping, keep these tips in mind during your baking adventure.
Choose Quality Ingredients
- Chocolate: Select high-quality chocolate for melting. Bittersweet or semi-sweet chocolate chips will give you that rich flavor, making your bars irresistible.
- Butter: Using unsalted butter is essential for control over the level of salt in your bars. It also enhances the buttery flavor when melted and combined with your sugars.
Perfect Your Process
- Egg Whites: Be sure to whip the egg whites until they form stiff peaks. This step is crucial; it contributes to the light texture of your Mud Hen Bars. A stand mixer can help achieve the desired consistency more easily.
- Layering: When you layer the chocolate mixture with the meringue, be gentle. Fold carefully to keep the airy structure created by the egg whites.
Master the Baking Time
- Keep an eye on your bars as they bake. Overbaking can lead to dry bars, while underbaking may leave them too gooey. Aim for a slight jiggle in the center when you remove them from the oven.
By following these simple yet effective tips, you’ll be well on your way to mastering the art of Mud Hen Bars, impressing friends and family alike with your sweet creations!
Time Breakdown for Mud Hen Bars
Creating Mud Hen Bars is a delightful endeavor that doesn’t require hours of your time. This quick and easy recipe offers rich flavors without the wait.
Preparation Time
Getting everything ready for your Mud Hen Bars takes about 20 minutes. This includes gathering your ingredients, mixing the batter, and preparing your baking dish.
Baking Time
Once you pop those bars in the oven, they’ll need about 25 to 30 minutes to bake. During this time, your kitchen will fill with a delicious aroma that’s hard to resist!
Total Time
From start to finish, you’ll be enjoying your delicious Mud Hen Bars in approximately 50 to 55 minutes. It’s a small time investment for a wonderfully decadent treat that’s perfect for sharing!
Nutritional Facts for Mud Hen Bars
When I think of Mud Hen Bars, I’m transported back to the cozy afternoons spent baking with friends, blending flavors in perfect harmony. These delightful treats are not just a feast for the senses but also come with some vital nutritional insights. Here’s what you need to know:
Calories
In each serving, Mud Hen Bars pack about 210 calories, making them a deliciously indulgent option without the guilt.
Protein
With roughly 3 grams of protein per serving, these bars provide a nice little boost. They’re perfect as a post-workout snack or an afternoon pick-me-up.
Sodium
Each serving contains about 90 milligrams of sodium. This keeps the bars balanced, allowing you to enjoy the rich flavors without worrying too much about sodium intake.
Now you can relish your Mud Hen Bars fully informed!
FAQs About Mud Hen Bars
Mud Hen Bars can become the star of any dessert table thanks to their rich, fudgy layers and delightful meringue topping. However, baking is a science, and occasional questions can pop up. Let’s tackle some frequently asked questions about these delicious treats!
How do I prevent my meringue from shrinking?
Preventing meringue from shrinking can be a bit tricky, but there are some tips to ensure your Mud Hen Bars come out perfectly.
- Make Sure Your Bowl is Clean: Any fat residue can cause meringue to collapse. Use a glass or metal bowl, and make sure it’s free of grease.
- Proper Temperature: Ensure your egg whites are brought to room temperature before whipping. This helps create a stable meringue.
- Avoid Overbeating: Beat the egg whites until just stiff peaks form. Overbeating can cause the meringue to become dry and shrink during baking.
- Add Sugar Gradually: Incorporate sugar slowly while whipping, allowing it to dissolve completely for a smoother texture.
Can I make Mud Hen Bars gluten-free?
Absolutely! You can easily create Mud Hen Bars that cater to gluten-free diets. Just swap the all-purpose flour for a gluten-free flour blend in the crust. Many blends work well and provide the same delicious texture. This way, everyone can enjoy this indulgent dessert!
How should I store leftover Mud Hen Bars?
To keep your Mud Hen Bars fresh and delightful, store them in an airtight container at room temperature for up to three days. If you need to keep them longer, consider refrigerating them, but be sure to let them sit at room temperature before serving to enjoy the full flavor and texture!
Conclusion on Mud Hen Bars
Creating Mud Hen Bars is more than just baking—it’s a delightful journey that combines nostalgia with indulgence. These bars bring together a crispy base, luscious marshmallows, and rich chocolate, making them a perfect dessert for any occasion. Whether you’re sharing them at a gathering or enjoying them with your evening coffee, they are guaranteed to impress. Plus, the straightforward recipe means you can whip them up anytime. So, grab your ingredients, gather your friends, and enjoy making memories with these delectable treats. Trust me, once you try them, they’ll become a staple in your dessert repertoire!
Print
Chocolate Marshmallow Bars
- Total Time: 1 hour
- Yield: 12 bars 1x
Description
Delicious chocolate marshmallow bars perfect for any occasion.
Ingredients
Scale
- 1/4 cup butter flavored shortening
- 1/4 cup unsalted butter (softened)
- 1 cup granulated sugar
- 1 large egg (whole)
- 2 large eggs (separated)
- 1 1/2 cup all-purpose flour
- 1 teaspoon baking powder
- 1/4 teaspoon kosher salt
- 1 1/2 cups mini marshmallows
- 3/4 cup mini chocolate chips
- 1 cup light brown sugar (packed)
Instructions
- Preheat oven to 350°F. Line a 13×9 baking dish with parchment paper. Set aside.
- In a large mixing bowl, beat together the shortening, butter, and sugar until creamy. Beat in the whole egg and the two egg yolks.
- Slowly add in the flour, baking powder, and salt. Combine until fully blended.
- Press batter into prepared baking dish. Top with marshmallows and chocolate chips.
- In a separate clean and dry mixing bowl, beat the two egg whites until stiff. Fold in the brown sugar and pour over the top of the bars. Spread gently, making sure it touches the sides of the pan.
- Bake for 35-40 minutes, until the meringue on top is lightly browned. Remove from oven and cool completely.
Notes
- This recipe yields delicious, soft bars that can be enjoyed warm or at room temperature.
- Make sure to store any leftovers in an airtight container.
- Prep Time: 20 minutes
- Cook Time: 40 minutes
- Category: Dessert
- Method: Baking
- Cuisine: American
Nutrition
- Serving Size: 1 bar
- Calories: 200
- Sugar: 12g
- Sodium: 100mg
- Fat: 8g
- Saturated Fat: 4g
- Unsaturated Fat: 3g
- Trans Fat: 0g
- Carbohydrates: 28g
- Fiber: 1g
- Protein: 2g
- Cholesterol: 25mg