Follow Me On Social Media!

Homemade Easter Peanut Butter Eggs: Irresistibly Creamy Treats

Introduction to Homemade Easter Peanut Butter Eggs
There’s something undeniably special about Homemade Easter Peanut Butter Eggs that transports you back to the joyful Easter mornings of your childhood. As the days grow longer and warmer, you can almost hear the laughter of friends and family gathering, eager to share stories and delectable treats. The sweet, creamy taste of peanut butter enveloped in rich chocolate has a way of igniting nostalgic memories—all while creating new ones with loved ones in the kitchen.
These delightful confections are more than just a dessert; they’re a celebration of spring, love, and the joy of giving. Picture this: you’re in your cozy kitchen, egg-shaped molds scattered about, mixing up smooth and velvety peanut butter goodness. As you start dipping those eggs into glossy chocolate, the anticipation builds. And when it’s finally time to bite into one, the blend of textures and flavors is nothing short of divine.
Homemade Easter Peanut Butter Eggs not only satisfy your sweet tooth but also invite creativity. You can customize the chocolate coating—thinking about dark, milk, or even white chocolate? The options are endless! Imagine presenting a colorful platter of these eggs to your guests, watching their faces light up with excitement.
This year, why not create a new tradition by making these delectable eggs with family? It’s an excellent opportunity to bond over a delicious recipe that combines fun, creativity, and perhaps a little friendly competition—who can craft the most impressive egg?
The Nostalgia of Easter Treats
As Easter approaches, who doesn’t reminisce about those cherished childhood memories? Whether it was racing to find eggs hidden in the garden or savoring those uniquely chocolatey, peanut-buttery delights, the stories often revolve around Homemade Easter Peanut Butter Eggs. With each bite, you embark on a flavor journey that is deeply rooted in tradition, family gatherings, and the simple joy of indulging in something sweet.
Let’s dive into the process of making these iconic eggs and discover a recipe that perfectly embodies those treasured memories, allowing you to recreate the magic in your very own kitchen. What better way to celebrate the season than with a heartfelt and homemade touch?
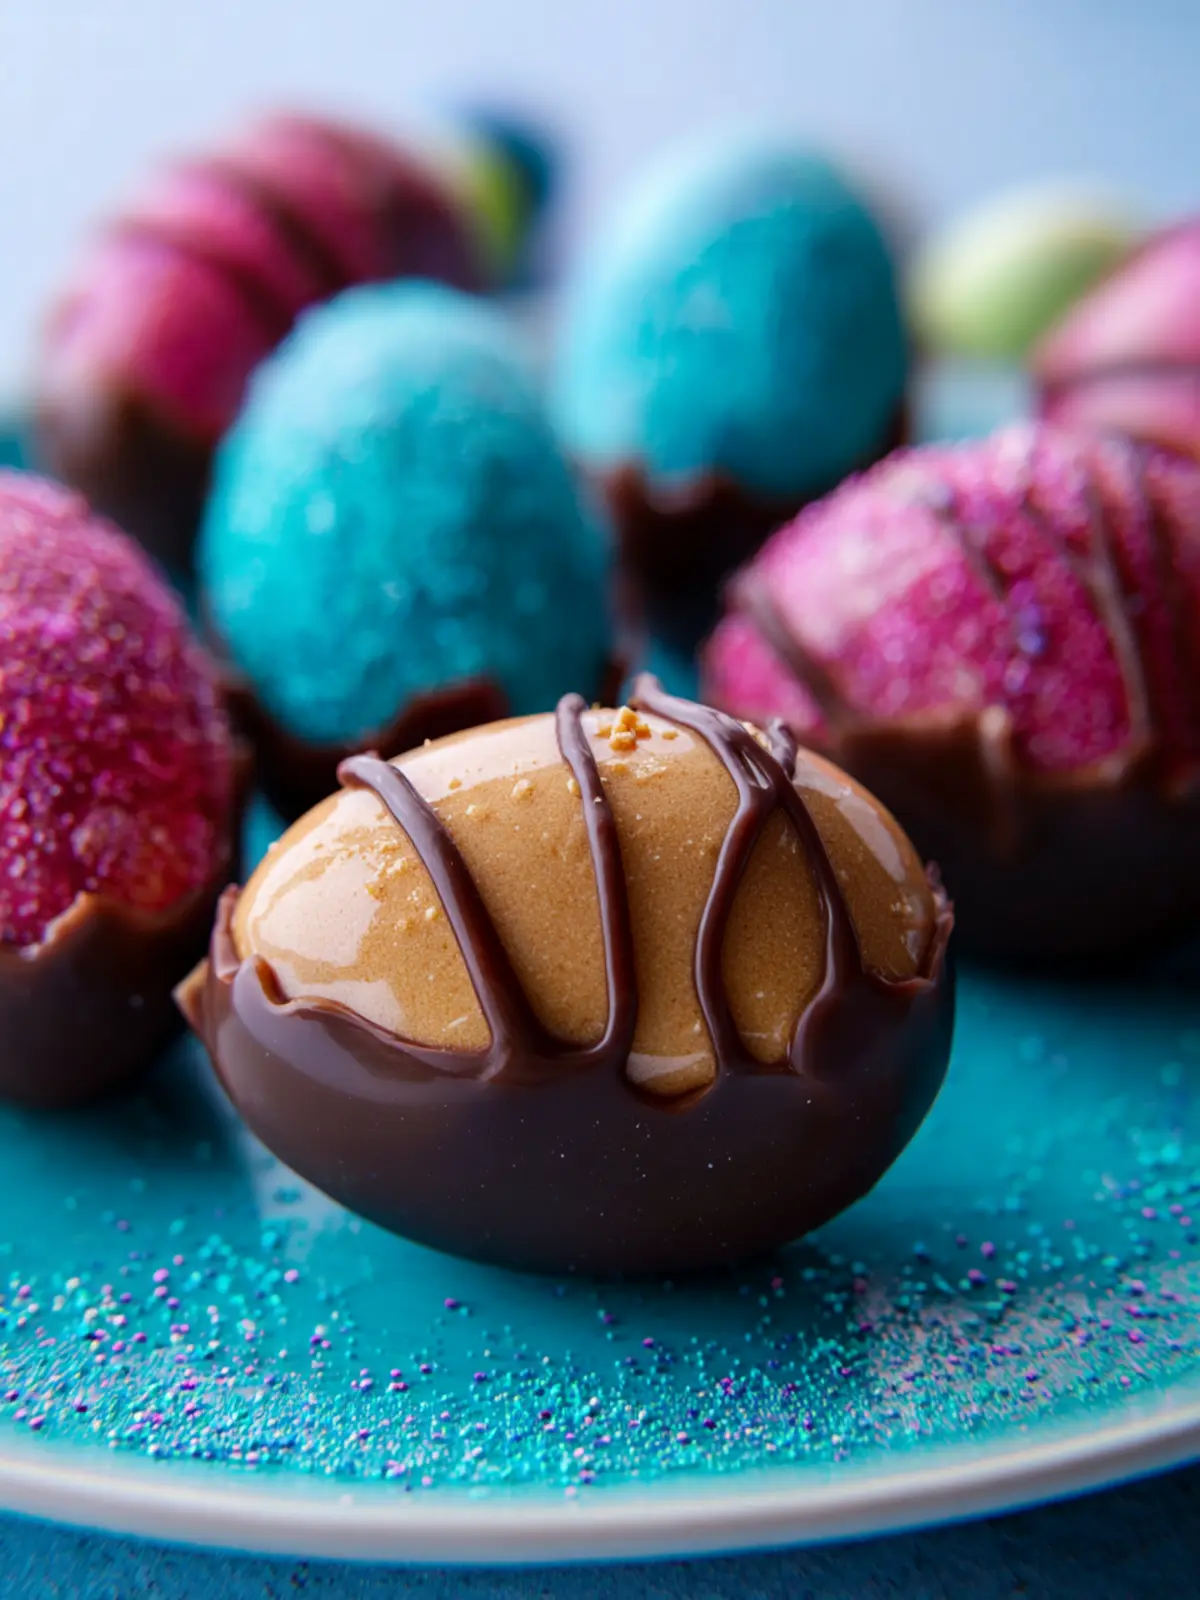
Key Ingredients for Homemade Easter Peanut Butter Eggs
Creating Homemade Easter Peanut Butter Eggs allows you to blend traditional flavor with a personal touch. Each ingredient plays an essential role in crafting that nostalgic taste reminiscent of childhood treats.
-
Peanut Butter: A rich source of creaminess, opt for a smooth peanut butter to ensure a luscious filling. You could even consider natural peanut butter for an added depth of flavor, avoiding those unnecessary additives.
-
Confectioners’ Sugar: This is the secret to achieving that perfect sweetness without the granulated crunch. Sifting it before mixing ensures lump-free filling, resulting in a smooth texture.
-
Butter: Using unsalted butter amplifies the richness of your peanut filling. Melting it ensures an easy blend with the peanut butter and sugar, adding that comforting butteriness.
-
Chocolate: For the shell, whether you choose dark, milk, or even white chocolate will define the overall taste. Melting it down creates a glossy coating that hardens perfectly around your peanut butter mixture.
-
Vanilla Extract: A splash of pure vanilla elevates the flavor profile. It brings a warm, aromatic balance that harmonizes beautifully with the nuttiness of the peanut butter.
With these key ingredients, your Homemade Easter Peanut Butter Eggs will not only delight the taste buds but also evoke fond holiday memories. Happy baking!
Why You’ll Love These Homemade Easter Peanut Butter Eggs
The delightful Homemade Easter Peanut Butter Eggs transcend ordinary treats, transforming your kitchen into a haven of nostalgia and happiness. Imagine the moment when you bite into that creamy, sweet peanut butter center, perfectly encased in a rich chocolate coating. These homemade eggs aren’t just about taste—they’re about bringing back cherished memories and creating new ones.
Purely Satisfying Ingredients
-
Peanut Butter: The star of this recipe, creamy peanut butter gives a rich taste and smooth texture. Choose natural peanut butter for a slightly less sweet, more authentic flavor.
-
Powdered Sugar: This sweetens the filling to perfection while ensuring a smooth mix. Its fine texture allows it to blend seamlessly, giving you that gratifying melt-in-your-mouth experience.
-
Butter: Using unsalted butter adds a luxurious richness to the peanut butter mixture. It helps bind everything together while enhancing the flavor profile.
-
Chocolate: For the outer layer, high-quality dark or milk chocolate creates a luscious shell. Go for your favorite chocolate, as the coating truly makes or breaks the overall enjoyment.
-
Vanilla Extract: A splash of vanilla elevates the flavor of the peanut butter filling, adding an aromatic sweetness that balances the dish beautifully.
Memory-Making Moments
Making Homemade Easter Peanut Butter Eggs can be a fun, bonding activity. Involve your friends or family, and enjoy not just the final product but the laughter and conversations that happen while creating your own Easter treat. Enjoying these homemade eggs is more than satisfaction; it’s a delicious way to connect with loved ones, creating sweet moments along with sweet treats.
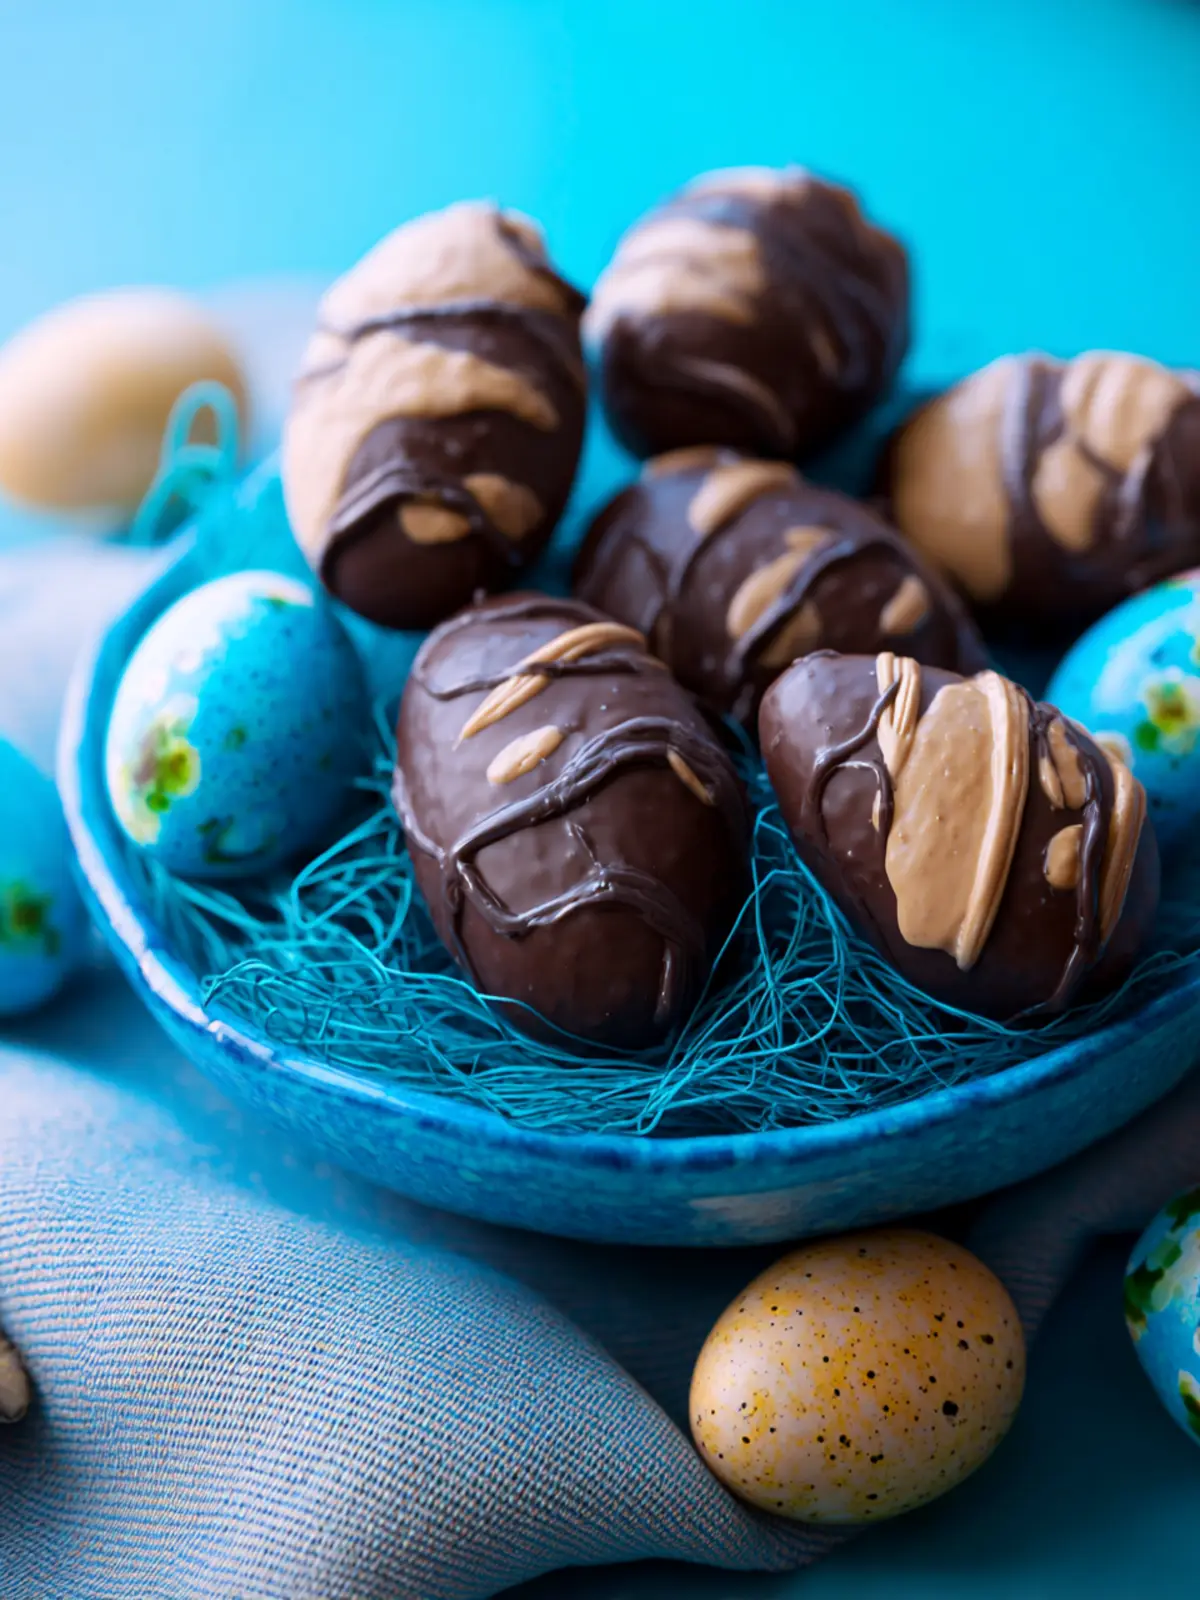
Cooking Tips and Notes for Homemade Easter Peanut Butter Eggs
When crafting Homemade Easter Peanut Butter Eggs, the experience can be as delightful as the final treat itself! Here are some handy tips to ensure your peanut butter egg-making adventure goes smoothly.
Use Quality Peanut Butter
Opt for a natural or creamy peanut butter that has minimal added sugar and preservatives. This not only enhances flavor but also provides that authentic rich taste we all love.
Chill the Mixture
After combining the peanut butter, butter, and powdered sugar, allow the mixture to chill in the refrigerator for about 30 minutes. This makes it easier to shape into eggs and helps them hold their form during the chocolate coating process.
Melt Chocolate Carefully
To achieve that glossy finish on your eggs, melt your chocolate in short intervals — about 30 seconds at a time — stirring in between. This prevents the chocolate from seizing, ensuring a smooth coating.
Coating Techniques
For a perfect dip, use a fork to lower each peanut butter egg into the melted chocolate. Let the excess chocolate drip off before placing them on parchment paper. This helps in getting a neat, even coating.
Let Them Set
Allow the eggs to set at room temperature before transferring them to the fridge. This final touch will give you that snap when you bite into your Homemade Easter Peanut Butter Eggs. Enjoy the process, and happy baking!
Serving Suggestions for Homemade Easter Peanut Butter Eggs
Creating Homemade Easter Peanut Butter Eggs is just the beginning of your sweet holiday celebration. These delightful treats not only shine on their own but can also be enhanced with a variety of serving suggestions to delight your family and friends.
Pairing with Drinks
- Coffee: A rich cup of coffee complements the sweetness of the peanut butter eggs brilliantly. The bitterness of the brew balances the sugary delight.
- Milk: Never underestimate the classic pairing of peanut butter and milk. Serve a cold glass alongside for a nostalgic twist!
Presentation Ideas
- Decorative Platters: Arrange your eggs on a colorful platter lined with Easter-themed decorations, like small bunnies or spring flowers. This beautiful presentation boosts the holiday spirit.
- Gift Wrapping: Consider wrapping individual eggs in festive cellophane and gifting them to friends or neighbors. A thoughtful touch that’s sure to be appreciated!
Creative Serving Options
- Cookies and Cream Crumble: Crumble up some chocolate cookies to sprinkle over your Homemade Easter Peanut Butter Eggs, adding crunchy texture and a visual treat.
- Chocolate Drizzle: For an extra indulgence, drizzle melted chocolate over the eggs before serving. It adds a luscious twist that elevates each bite.
By implementing these serving suggestions, you’ll ensure that your Homemade Easter Peanut Butter Eggs don’t just taste great but are also visually appealing and memorable for everyone who enjoys them!

Time Breakdown for Homemade Easter Peanut Butter Eggs
Creating Homemade Easter Peanut Butter Eggs is not just about enjoying a delicious treat; it’s also about savoring the joyful process of making them. Whether you’re hoping to impress friends or simply celebrate the season, understanding the time commitment can help set your expectations and ensure everything goes smoothly.
Preparation Time
The preparation for your Homemade Easter Peanut Butter Eggs takes about 25 minutes. During this time, you’ll mix the ingredients, roll the peanut butter mixture into egg shapes, and prepare the chocolate for coating.
Chilling Time
After you’ve shaped your eggs, it’s crucial to let them chill in the refrigerator for about 1 hour. This step helps firm them up, making it easier to dip them in chocolate without losing shape.
Total Time
In total, you’re looking at a delightful 1 hour and 25 minutes from start to finish. This includes both the prep time and that necessary chilling period, making it a feasible recipe to whip up on a weekend afternoon or before a festive gathering. Enjoy the process and watch these treats come to life!
Nutritional Facts for Homemade Easter Peanut Butter Eggs
Creating Homemade Easter Peanut Butter Eggs isn’t just about indulging your sweet tooth; it’s also a chance to enjoy some delightful nutritional benefits. Let’s break down these facts so you can savor every bite with confidence.
Calories
Each serving of these delicious Homemade Easter Peanut Butter Eggs typically contains around 200 calories. This makes them a fun treat to enjoy during Easter without completely straying from your dietary goals.
Protein
Packed with peanut butter, each egg delivers about 6 grams of protein. This little boost can help keep you feeling satisfied and energized as you indulge in your Easter festivities.
Sugars
On the sweeter side, you can expect roughly 12 grams of sugar per egg. While it’s perfect for a special occasion, be mindful of portion sizes if you’re keeping an eye on your sugar intake. Balancing treats with wholesome meals can make all the difference!
Enjoy crafting and sharing these delightful treats while keeping nutritional balance in mind.
FAQs about Homemade Easter Peanut Butter Eggs
When the craving for Homemade Easter Peanut Butter Eggs strikes, you may have some burning questions. Don’t worry! I’m here to answer them, ensuring your egg-making experience is as delightful as the treats themselves.
Can I use crunchy peanut butter instead of creamy?
Absolutely! If you prefer a bit of texture in your Homemade Easter Peanut Butter Eggs, opting for crunchy peanut butter is a fantastic choice. The added bite gives these treats a fun twist. Just keep in mind that it may slightly alter the smoothness of the filling, but for many, that extra crunch is worth it!
How long can I store these peanut butter eggs?
You can store your Homemade Easter Peanut Butter Eggs in an airtight container in the refrigerator for up to two weeks. If you want to extend their shelf life, consider freezing them. They can last in the freezer for up to three months! Just make sure to wrap each egg individually in plastic wrap and place them in a freezer-safe bag.
Can I make them in different shapes for other occasions?
Of course! While these peanut butter eggs are perfect for Easter, you can easily use different molds or simply roll the mixture into balls for various shapes and sizes. Want to celebrate a birthday? Try making round peanut butter balls dipped in chocolate. The versatility of this recipe means you can craft a treat for any occasion, keeping things fun and festive year-round!
Conclusion on Homemade Easter Peanut Butter Eggs
Creating your own Homemade Easter Peanut Butter Eggs not only satisfies your sweet tooth but also fills your kitchen with delightful memories. The effortless process makes it an ideal activity for families and friends, bringing everyone together in the spirit of the holiday. These eggs are not just treats but tokens of love that can be gifted, shared, or enjoyed as a special indulgence. With the flexibility to customize ingredients, you can cater to various dietary preferences, ensuring everyone can enjoy these delicious confections. So, roll up your sleeves, gather your loved ones, and relish the joy of crafting and sharing these sweet delights this season!
Print
Peanut Butter Eggs
- Total Time: 1 hour
- Yield: 24 servings 1x
- Diet: Vegetarian
Description
A delicious treat perfect for any occasion!
Ingredients
Scale
- 1 cup salted butter
- 16 oz creamy peanut butter
- 4 cups powdered sugar
- 2 tsp vanilla extract
- 30 oz baking chocolate or semi sweet chocolate chips or milk chocolate
- 1 tsp coconut oil or parafin wax (optional, for shiny finish)
Instructions
- First, make room in your refrigerator for the baking sheets. The peanut butter eggs will need to cool two times (before and after coating them with chocolate).
- Then, melt the butter in a microwave safe bowl. TIP: I always cover the bowl with a wet paper towel to stop butter from splattering in the microwave.
- Next, combine peanut butter with the melted butter and mix until it’s smooth.
- Next, to a large mixing bowl add: peanut butter mixture, powdered sugar, and vanilla extract. Again, mix until smooth.
- Then, refrigerate the peanut butter mixture for about 20 minutes or more, if time allows, so it’s easier to handle or it’ll become too soft to roll.
- Then, put wax paper or parchment paper on two (may need three) large baking sheets.
- Next, roll the peanut butter mixture into balls and then elongate them with your fingers into egg shapes as big or small as you wish. Place eggs on the baking trays and refrigerate them for about 30 minutes or longer. The colder they are, the better they’ll stand up to the heat of the melted chocolate.
- Next, do the next steps in batches or the eggs will become too soft to handle at room temperature. Melt some of the chocolate in a double boiler or in your microwave in a microwave-safe bowl. If using coconut oil or parafin wax, stir in a teaspoon of either. Give the melted chocolate a good stir. Don’t melt all of the chocolate at once or it’ll start to harden before you’re done dipping and the eggs will become too soft to dip. Transfer some of the melted chocolate to a small, deep bowl for dipping the peanut butter eggs.
- Then, using a teaspoon, dip the peanut butter eggs, one at a time into the melted chocolate and gently flip them over to fully coat. Try to remove excess chocolate drip and place eggs on the wax or parchment paper-lined baking sheet. When the baking sheet is full, immediately place it in the refrigerator to cool. Repeat this step until you’re finished.
- TIP: After the peanut butter eggs have cooled, you can trim off the excess chocolate with a paring knife if you want to make them look a bit more tidy and somewhat uniform.
Notes
- Using a wet paper towel to cover the bowl helps to avoid a mess in the microwave.
- Make sure to fully chill the eggs before coating them with chocolate for the best results.
- Prep Time: 30 minutes
- Cook Time: 10 minutes
- Category: Dessert
- Method: No Bake
- Cuisine: American
Nutrition
- Serving Size: 2 eggs
- Calories: 150
- Sugar: 10g
- Sodium: 100mg
- Fat: 9g
- Saturated Fat: 4g
- Unsaturated Fat: 3g
- Trans Fat: 0g
- Carbohydrates: 16g
- Fiber: 1g
- Protein: 3g
- Cholesterol: 20mg