Follow Me On Social Media!

Red Velvet Oreo Layered Cake: Indulgent Bliss in Every Bite
Introduction to Red Velvet Oreo Layered Cake
Imagine a Red Velvet Oreo Layered Cake that captures the hearts of cake lovers everywhere, blending the rich flavors of classic red velvet with the delightful crunch of Oreos. This cake isn’t just about indulgence; it tells a story of celebration and togetherness, bringing friends and family around the table for memorable moments. Every slice reveals vibrant layers, and each bite is a harmonious mix of chocolatey richness and creamy sweetness, making it the perfect centerpiece for any occasion.
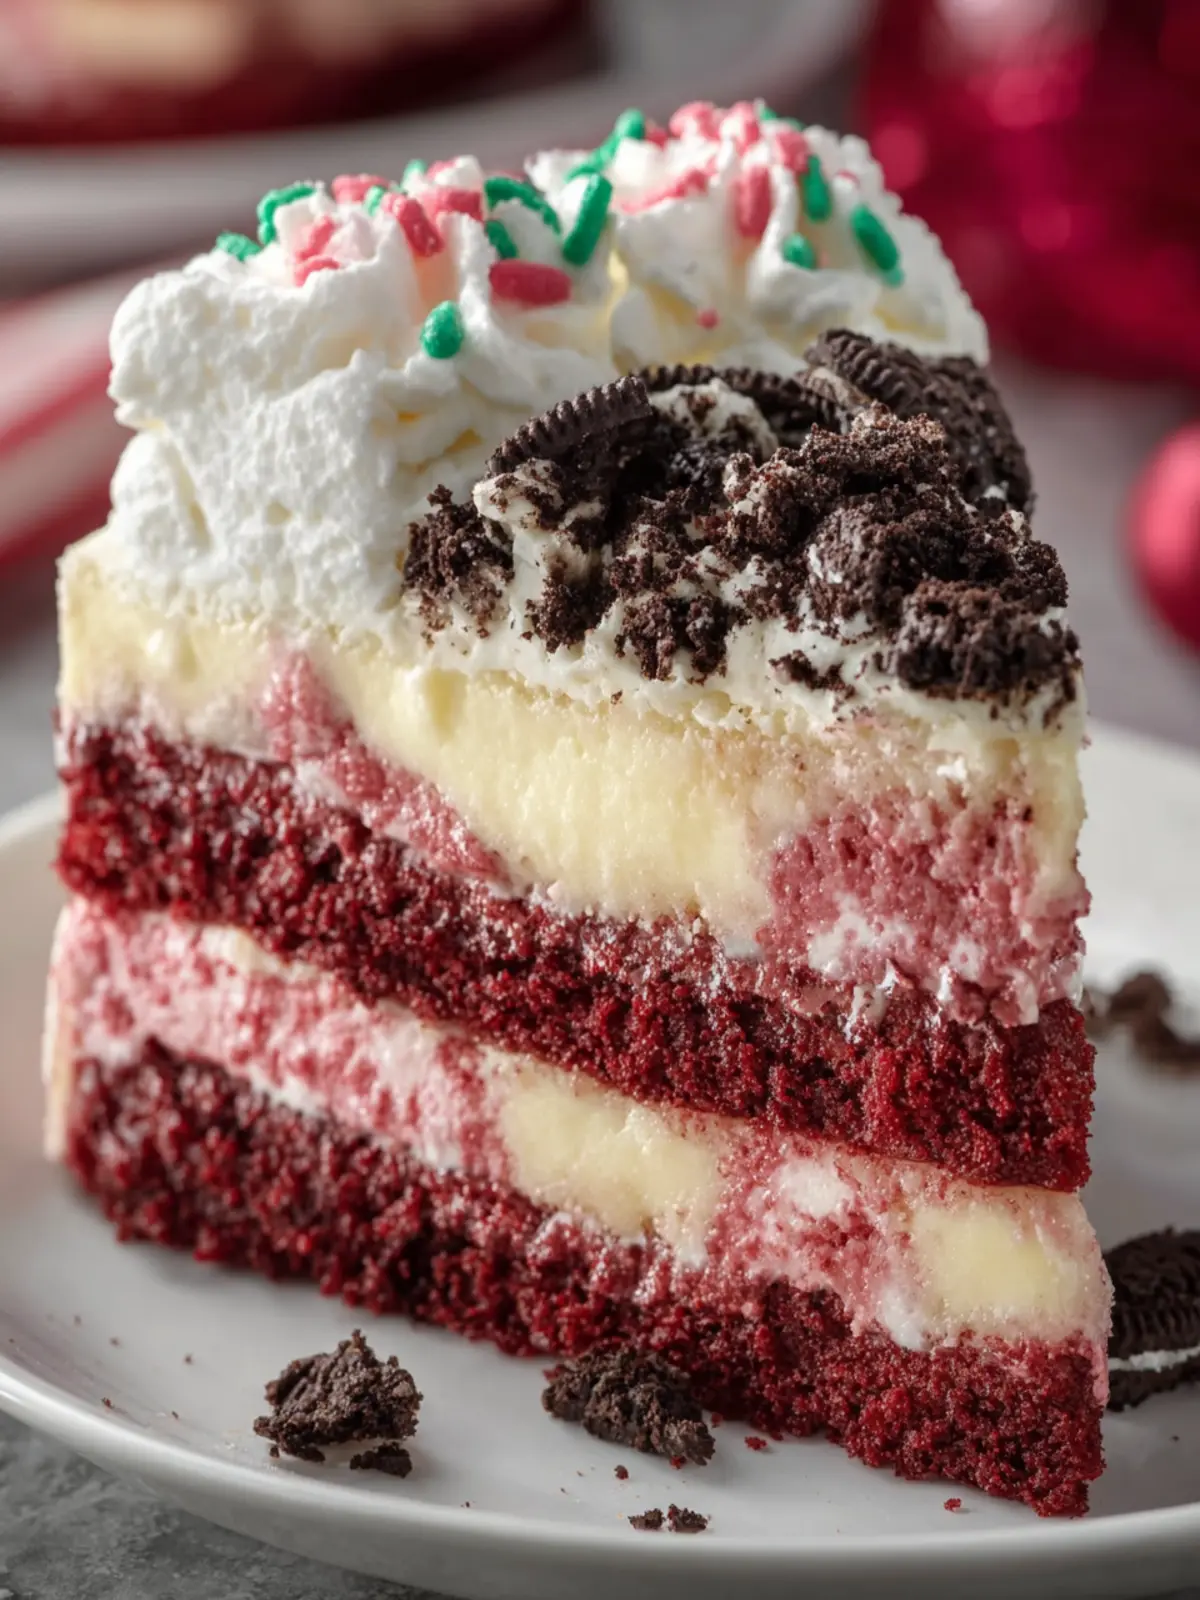
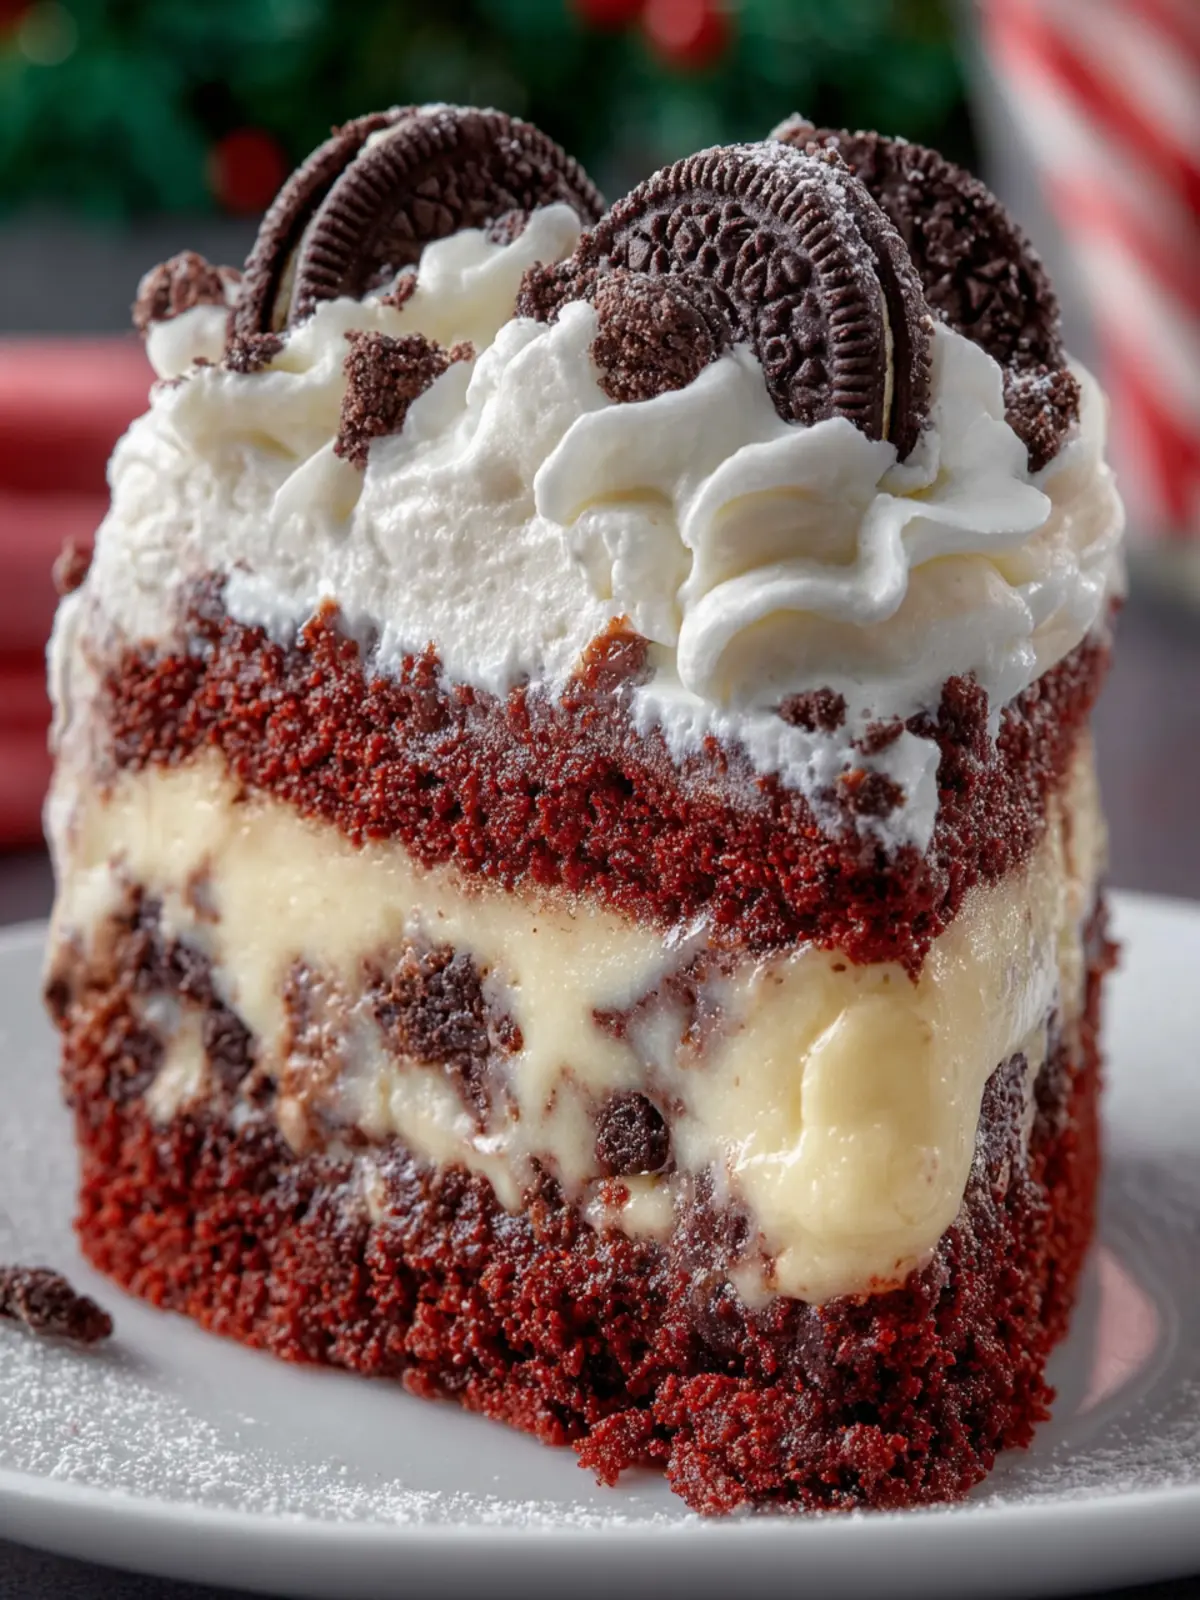
If you’re planning a birthday, an anniversary, or just want to treat yourself, this cake is sure to impress. The eye-catching red layers, paired with the contrasting white cream cheese frosting and Oreo crumb topping, make it a stunning dessert that begs to be shared. One bite will transport you to a place of cozy gatherings and joyous laughter.
What makes Red Velvet Oreo Layered Cake so special?
The beauty of this cake lies not only in its striking appearance but also in its fantastic flavor profile. Here’s why it’s a showstopper:
-
Unique Flavor Combination: The classic red velvet flavor is already a favorite — think buttermilk, cocoa, and a hint of vanilla. Add in crushed Oreos, and you get a whole new level of deliciousness.
-
Rich Textures: Each layer brings its own texture to the party. The moist red velvet cake contrasts beautifully with the slightly crunchy Oreo crumbs and the smooth cream cheese frosting, making every forkful a delightful experience.
-
Versatile and Fun: This cake isn’t just for special occasions. Whether you’re hosting a casual get-together or a fancy dinner, it fits right in. Plus, the vibrant red color is particularly festive and can be adapted for various themes and celebrations.
As you embark on the journey of creating your own Red Velvet Oreo Layered Cake, get ready for a baking experience that’s as rewarding as it is delicious. Your kitchen will evoke that warm, inviting atmosphere that only baking can create, making it all worth it by the time you take that first bite!
Key Ingredients for Red Velvet Oreo Layered Cake
The Red Velvet Oreo Layered Cake is not just a dessert; it’s a celebration of flavors and textures that come together in a delightful way. Each ingredient plays a pivotal role in crafting this masterpiece, allowing for a rich, velvety experience with every bite.
-
Red Velvet Cake Mix: The star of this cake is undoubtedly the red velvet cake mix. It brings that iconic color and subtle chocolate flavor that pairs beautifully with the Oreo cookies.
-
Eggs: Eggs act as the binding agent, lending moisture and providing the perfect structure to our cake layers. Using large eggs ensures a fluffy texture that cradles all the deliciousness.
-
Vegetable Oil: I opt for vegetable oil over butter in the cake mix for a tender crumb. Oil keeps the cake moist and allows for a slight density that contrasts nicely with the airy frosting.
-
Buttermilk: Adding buttermilk not only enhances the flavor but creates a light, tender cake. The acidity in buttermilk works wonders, breaking down the flour proteins for a soft finish.
-
Oreo Cookies: Who could forget the Oreos? These iconic cookies serve as both decoration and flavor enhancers, providing that delightful crunch and creamy filling that everyone loves.
-
Cream Cheese Frosting: Lastly, the cream cheese frosting serves as the luscious glue that holds our layers together. Its tangy sweetness complements the rich cake and decadent cookies.
Incorporating these key ingredients into your Red Velvet Oreo Layered Cake will yield a delightful treat that’s perfect for celebrations or simply indulging your sweet tooth.
Why You’ll Love This Recipe
The Red Velvet Oreo Layered Cake is not just a dessert—it’s an experience that brings people together. Imagine the scene: a beautifully layered cake, each slice revealing the luscious red velvet nestled between creamy Oreo frosting. Picture your friends and family gathered around, their eyes lighting up with anticipation. This cake isn’t just about the flavors; it’s about creating lasting memories around the table.
Let’s dive into what makes this cake truly special:
-
Decadent Flavor: The rich, buttery notes of red velvet mingle beautifully with the unmistakable taste of Oreo cookies. Each bite is a delightful balance of sweetness and a hint of cocoa.
-
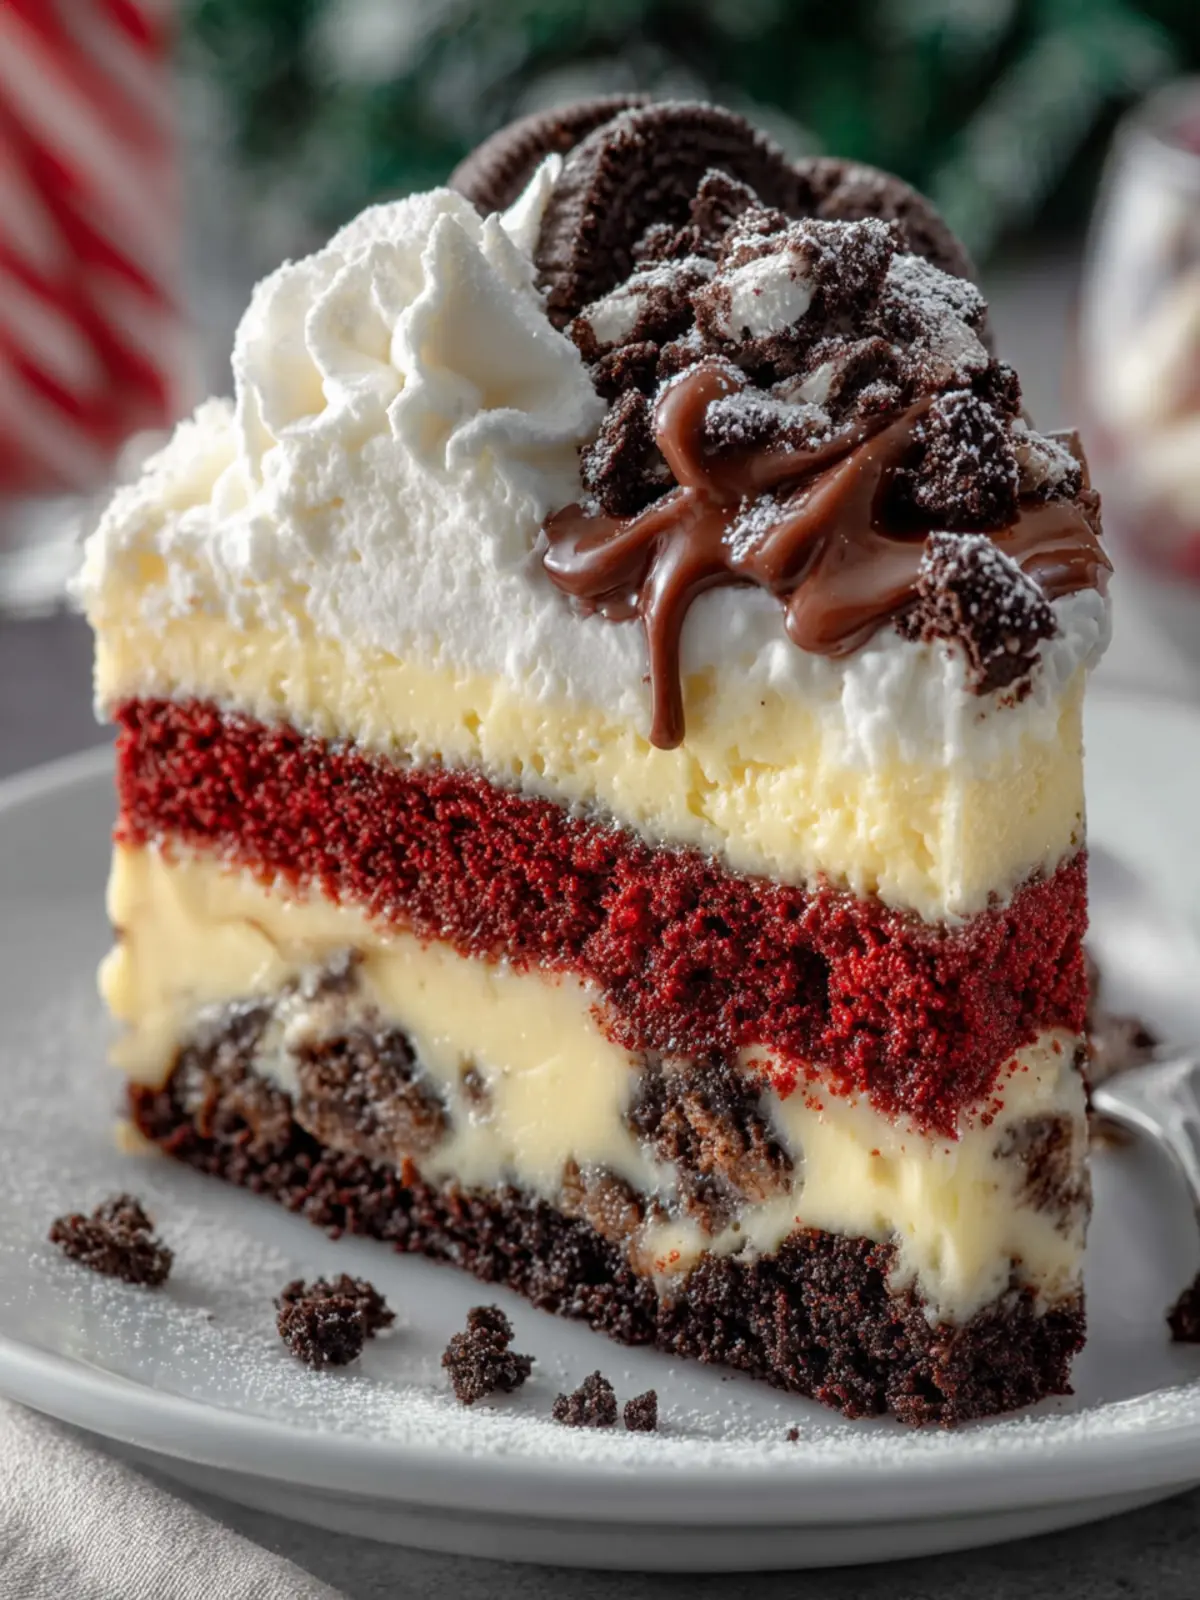
Visual Appeal: With its vibrant red layers and contrasting white frosting, this cake is a feast for the eyes. It’s the kind of dessert that garners oohs and ahhs even before the first slice is served.
-
Versatile for Any Occasion: Whether it’s a birthday celebration, a holiday gathering, or simply a cozy evening at home, the Red Velvet Oreo Layered Cake fits right in. Its elegant vibe makes it perfect for any event.
-
Fun to Make: Baking this cake is as enjoyable as eating it! Layering the cake and spreading the frosting allows for a bit of creativity in the kitchen.
So, if you’re ready to impress and indulge, this recipe will quickly become a weekend favorite.
Variations of Red Velvet Oreo Layered Cake
The Red Velvet Oreo Layered Cake is a delightful twist on the classic dessert, offering endless possibilities for customization and flavor exploration. Here are some delicious variations to suit different taste preferences and occasions:
Cookies and Cream Twist
Add crushed Oreos into the frosting for a delightful cookies and cream flavor that pairs perfectly with the red velvet base. This not only enhances texture but also gives your cake an extra layer of richness and crunch.
Nutty Delight
Consider folding in finely chopped walnuts or pecans into the batter. The nuts will complement the velvety texture while adding a satisfying crunch. This variation is especially great for those who enjoy a nutty contrast to the softness of the cake.
Chocolate Lovers’ Dream
For the ultimate chocolate experience, try integrating cocoa powder into the red velvet batter. This adds a deeper chocolate flavor, enhancing the sweetness of the Oreos. Pair it with a rich chocolate ganache for an indulgent finish.
Seasonal Spices
Add a hint of cinnamon or nutmeg for a warm spice blend that brings a cozy vibe to your Red Velvet Oreo Layered Cake. This is particularly delightful for fall and winter celebrations.
Fruity Fusion
Looking to lighten things up? Consider layering fresh strawberries or raspberries between the cake layers. The tartness from the berries will elevate the overall flavor profile and provide a refreshing counterbalance to the rich frosting.
With these variations, you’ll never run out of ways to celebrate special occasions or simply indulge your sweet tooth with an irresistible slice of cake!
Cooking Tips and Notes for Red Velvet Oreo Layered Cake
Crafting the perfect Red Velvet Oreo Layered Cake is more than just following the recipe; it’s an experience filled with moments of joy, creativity, and a little bit of science in the kitchen. Here are some tips to ensure your cake turns out beautifully every time.
Quality Ingredients Matter
- Cocoa Powder: Using high-quality cocoa powder enhances the chocolate flavor. Avoid generic brands if you can; a premium cocoa will elevate your cake.
- Food Coloring: Opt for gel food coloring rather than liquid for a vibrant red without altering the batter’s consistency. A little goes a long way!
Chilling for Flavor
It’s essential to let the cake layers cool completely before frosting. This not only prevents the frosting from melting but also allows the flavors to settle, making each bite even richer.
Assembling the Layers
When it comes to stacking your Red Velvet Oreo Layered Cake, consider using a cake leveler or serrated knife to create even layers. This will ensure a more balanced and visually appealing cake. If you’re feeling adventurous, add crumbled Oreos between the layers for an extra crunch factor.
Frosting Tips
Make sure your cream cheese frosting is at room temperature before spreading. This will help it spread smoothly and prevent any lumps. You can also add a splash of vanilla extract for an extra touch of flavor.
Storage Recommendations
To keep your cake fresh, store it in an airtight container in the refrigerator for up to five days. This cake often tastes even better the next day, as the flavors meld together.
With these tips in your back pocket, you’re set to create an extraordinary Red Velvet Oreo Layered Cake that will delight friends and family alike!
Serving Suggestions for Red Velvet Oreo Layered Cake
The Red Velvet Oreo Layered Cake is not just a dessert; it’s a showstopper. Imagine serving this vibrant, rich cake at your next gathering, instantly becoming the star of the table. Here’s how to elevate your presentation and flavor experience:
Simple and Elegant Plating
- Fresh Berries: Adding a handful of strawberries or raspberries on the side not only adds a burst of color but complements the cake’s flavors nicely.
- Drizzle of Sauce: Consider a light drizzle of chocolate or raspberry sauce on the plate to give your dessert an artistic touch.
Perfect Pairings
- Coffee or Espresso: The rich chocolate notes of the cake balance beautifully with a creamy espresso, making for a delightful after-dinner treat.
- Vanilla Ice Cream: For a melt-in-your-mouth experience, serve a scoop of vanilla ice cream on the side. It cuts through the density of the cake while adding a sweet creaminess.
Celebration Decor
- Cake Toppers: Get creative! Top your Red Velvet Oreo Layered Cake with themed decorations for special occasions — think candles for birthdays or edible flowers for spring.
When you serve this cake, remember it’s all about the experience. The right accompaniments can turn this indulgent treat into an unforgettable moment!
Time Breakdown for Red Velvet Oreo Layered Cake
Creating a stunning Red Velvet Oreo Layered Cake is not just a baking task; it’s a delightful time investment that will pay off with every bite. In this section, you’ll find a handy breakdown of how to manage your time efficiently, ensuring that your cake turns out perfectly.
Preparation Time
Start by setting aside about 30 minutes to gather your ingredients and prep your pans. This is a crucial step to ensure that everything flows smoothly.
Baking Time
The baking itself takes roughly 25 to 30 minutes, allowing those layers to rise beautifully and develop that iconic red velvet flavor.
Chilling Time
Once baked, allow your cake layers to cool completely in the pan for around 15 minutes before transferring them to a wire rack. Chilling the assembled cake in the fridge for at least 1 hour will help everything set perfectly.
Total Time
From start to finish, you’re looking at around 2 hours. This includes preparation, baking, and chilling, making your Red Velvet Oreo Layered Cake a worthwhile endeavor for any occasion.
Nutritional Facts for Red Velvet Oreo Layered Cake
The Red Velvet Oreo Layered Cake not only tantalizes your taste buds but also brings some nutritional insights worth considering. Understanding its nutritional profile can help you enjoy this delightful dessert without any guilt.
Calories
A slice of the Red Velvet Oreo Layered Cake typically contains around 450 calories. This indulgence is perfect for special occasions or a sweet treat after a long day, but moderation is key!
Protein
With approximately 6 grams of protein per slice, the Red Velvet Oreo Layered Cake offers a tiny boost. While it won’t replace your protein shake, every bit counts in your overall diet!
Sodium
Be mindful of sodium—each slice carries about 300 milligrams. This is a factor to keep in check, especially if you’re watching your sodium intake. Enjoying this dessert in moderation helps maintain a balanced diet while still satisfying your sweet tooth!
FAQs about Red Velvet Oreo Layered Cake
Creating the perfect Red Velvet Oreo Layered Cake brings excitement to any gathering, but with that excitement often come questions. Here, we’ll answer some of the most common queries to ensure your baking experience is as seamless as possible!
Can I make this cake ahead of time?
Absolutely! The Red Velvet Oreo Layered Cake actually tastes even better when it sits for a little while. You can bake the cake layers a day in advance. Just make sure to let them cool completely before wrapping each layer in plastic wrap and storing them in the fridge. You can also prepare the frosting ahead of time; just keep it in an airtight container in the refrigerator. When you’re ready to assemble, let everything come to room temperature before frosting the cake.
What’s the best way to store leftover cake?
To keep your delicious Red Velvet Oreo Layered Cake fresh, cover it tightly with plastic wrap or store it in an airtight container. This helps retain moisture while preventing any awkward odors from affecting the cake. You can keep it at room temperature for about three days or refrigerate it for up to a week. If you want to extend its life even further, consider freezing individual slices wrapped in plastic and foil.
Is it possible to make this cake gluten-free?
Definitely! To make the Red Velvet Oreo Layered Cake gluten-free, simply substitute the all-purpose flour with a gluten-free 1:1 baking flour blend. Many brands work well in this recipe, providing you with the same delightful texture and flavor without the gluten. Just be sure to check the labels on your other ingredients, like baking powder and Oreos, to ensure they align with your gluten-free goals.
Conclusion on Red Velvet Oreo Layered Cake
In wrapping up our delightful journey into the world of the Red Velvet Oreo Layered Cake, it’s clear that this dessert is not just a feast for the eyes but a treat for the taste buds as well. Each layer offers a luscious blend of rich, velvety flavors accentuated by the crunch of Oreos, creating a cake that’s sure to impress at any gathering.
As you take your first bite, imagine the smiles on your friends’ faces—this cake is all about sharing joy. With its striking appearance and delicious taste, your Red Velvet Oreo Layered Cake could become the star of your dessert table. So gather your ingredients, dive into the experience, and savor every moment of creating this stunning masterpiece!
Print
Red Velvet Oreo Layered Cake
- Total Time: 1 hour
- Yield: 12 slices 1x
Description
A delicious layered cake combining the rich flavor of red velvet and the crunch of Oreo cookies, topped with creamy frosting and festive sprinkles.
Ingredients
Scale
- 1 box red velvet cake mix
- 3 large eggs (or as per cake mix instructions)
- 1/2 cup vegetable oil (or as per cake mix instructions)
- 1 cup water (or as per cake mix instructions)
- 24 Oreo cookies (roughly chopped)
- 2 cups heavy cream
- 1/2 cup powdered sugar
- 1 teaspoon vanilla extract
- 2 cups cream cheese frosting (store-bought or homemade)
- Green and red sprinkles for decoration
Instructions
-
Prepare the Red Velvet Cake Layer:
- Preheat your oven to 350°F (175°C).
- Prepare the red velvet cake mix according to the package instructions.
- Pour the batter into a greased and floured 9-inch round cake pan.
- Bake as per package instructions (usually around 25-30 minutes) or until a toothpick inserted into the center comes out clean.
- Let the cake cool completely, then remove from the pan.
-
Prepare the Whipped Cream Layer:
- In a mixing bowl, beat the heavy cream, powdered sugar, and vanilla extract together until stiff peaks form.
- Gently fold in half of the chopped Oreo cookies into the whipped cream.
-
Assemble the Cake:
- Place the red velvet cake layer on a serving platter.
- Spread a layer of cream cheese frosting over the cake.
- Top with the Oreo whipped cream layer, spreading it evenly.
-
Decorate the Cake:
- Use the remaining Oreo cookies to create a decorative pattern on top.
- Sprinkle with green and red sprinkles for a festive touch.
-
Chill the Cake:
- Refrigerate the cake for at least 1 hour to allow the layers to set together.
Notes
- Variation: For more chocolate flavor, add a layer of chocolate ganache by melting 1 cup of chocolate chips with 1/2 cup of heavy cream.
- Storage: Store in an airtight container in the refrigerator for up to 3 days.
- Presentation: For cleaner slices, use a serrated knife and wipe it with a warm, damp cloth between cuts.
- Prep Time: 30 minutes
- Cook Time: 30 minutes
- Category: Dessert
- Method: Baking
- Cuisine: American
Nutrition
- Serving Size: 1 slice